Introduction
On 2 January 2010, Mum and Dad and I did one more stretch of the Thames Path, continuing from Pangbourne to Cholsey (which isn't actually on the Thames, but has a railway station).
Pangbourne and Whitchurch
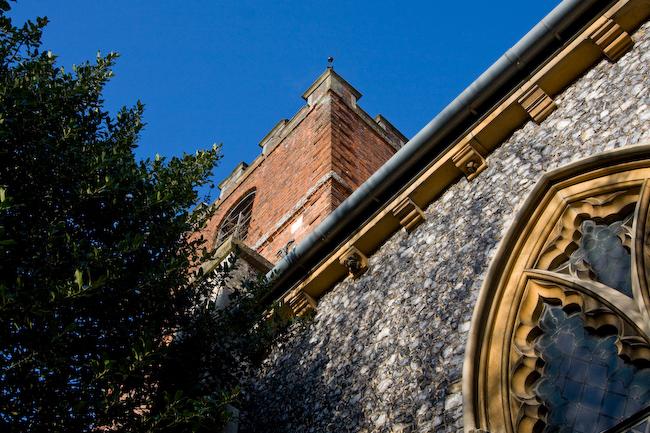
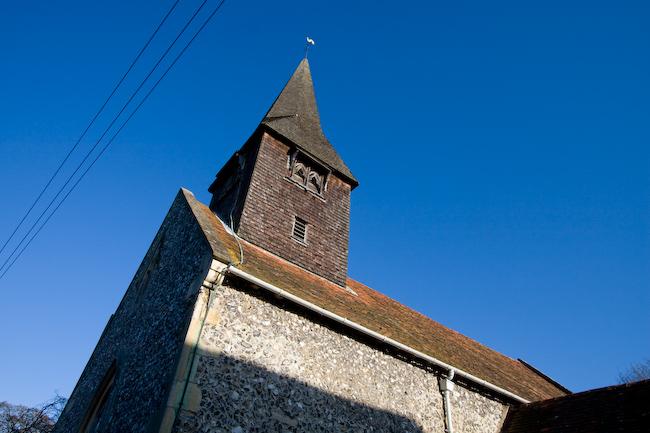
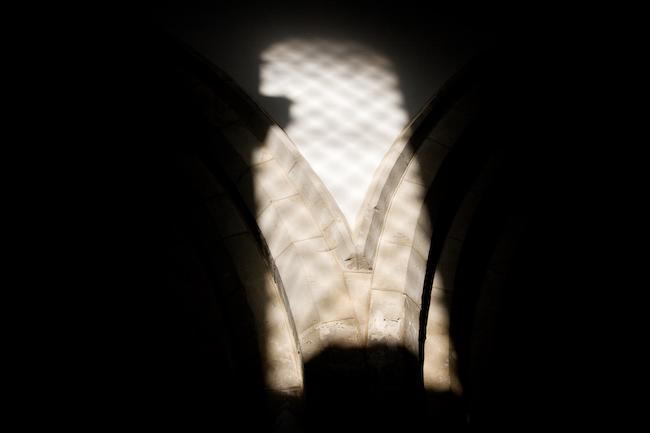
As we'd arrived late in the day last time, we took the opportunity to have a look around Pangbourne and Whitchurch during daylight, starting with Pangbourne church.
Crossing the river on the toll bridge, we passed again by Whitchurch, er, church too.
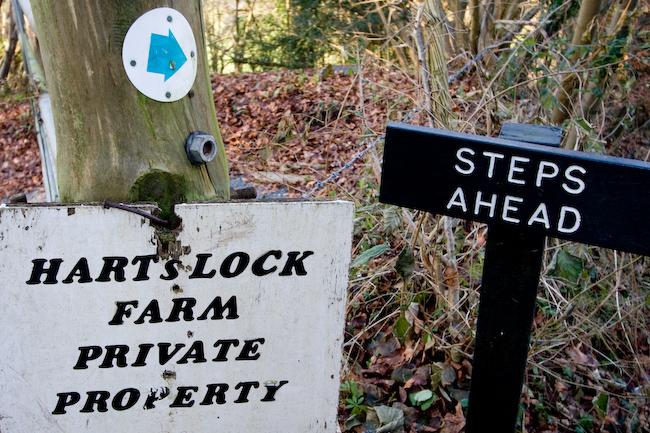
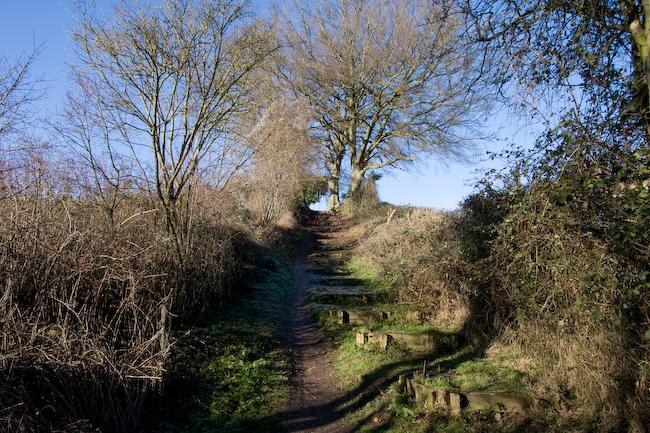
The Thames Path leaves the river through Whitchurch and runs uphill on a rise above the Thames for some distance.
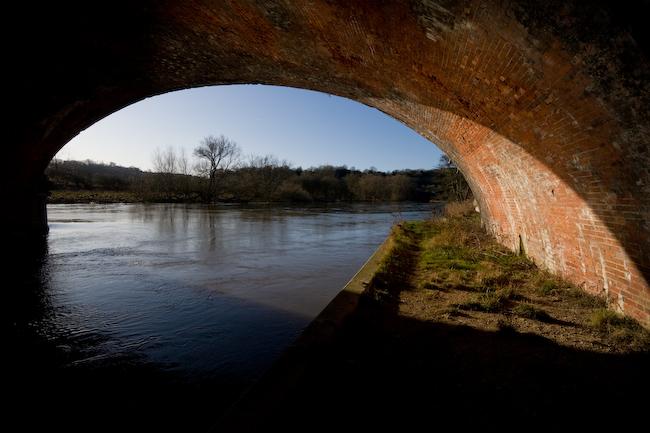
Gatehampton railway bridge
The path rejoined the river in time to meet Gatehampton railway bridge; designed by Brunel and very nice too.
After having lunch by the bridge, we continued along the towpath.
Goring
Goring is another small and disturbingly rich/expensive town on the river.
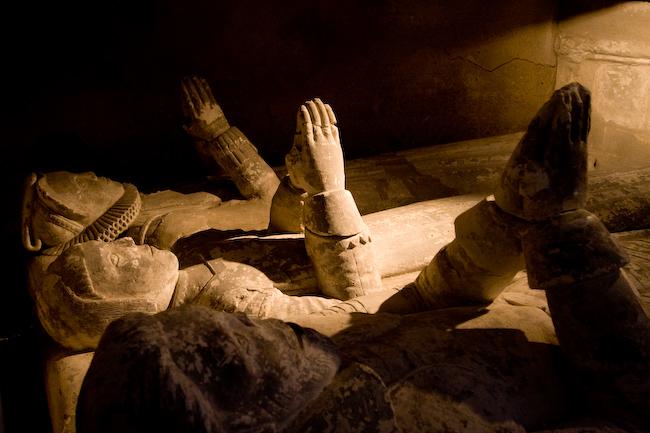
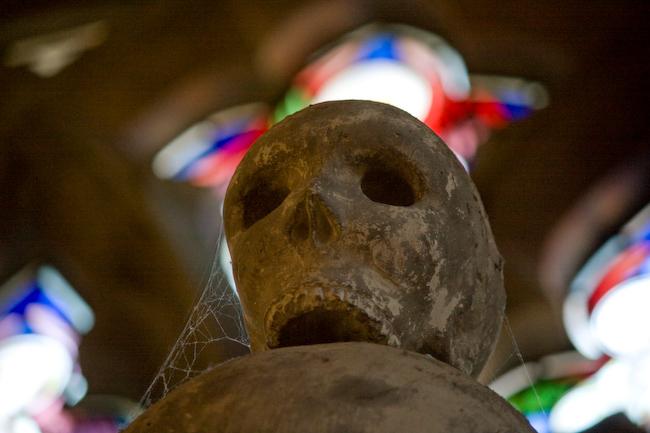
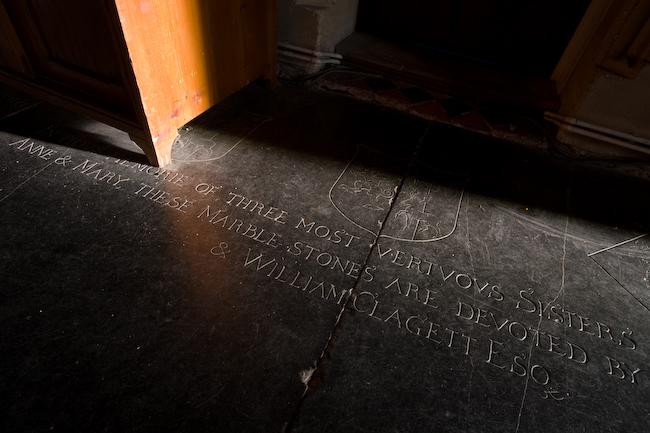
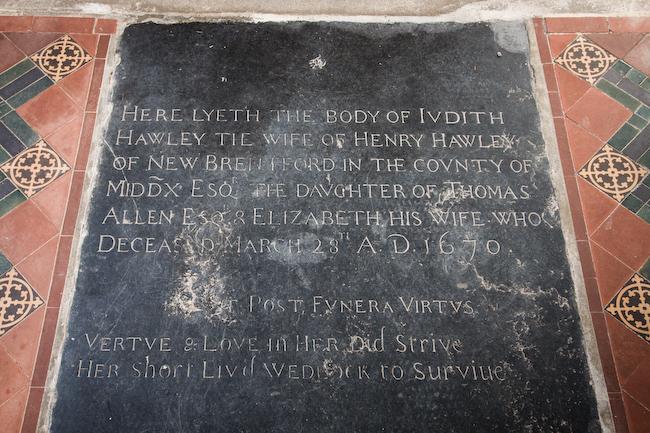
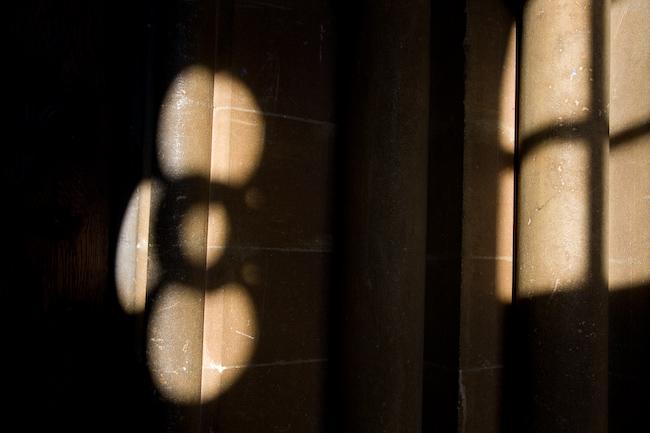
We had a look inside the church.

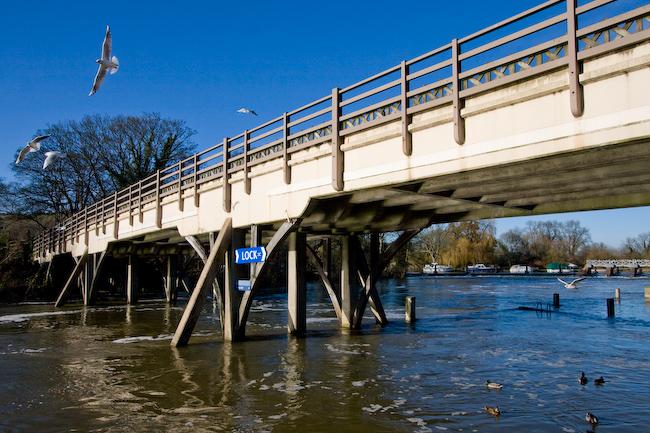
After that (and buying snacks), we crossed the river on the hideous/wonderful bridge.
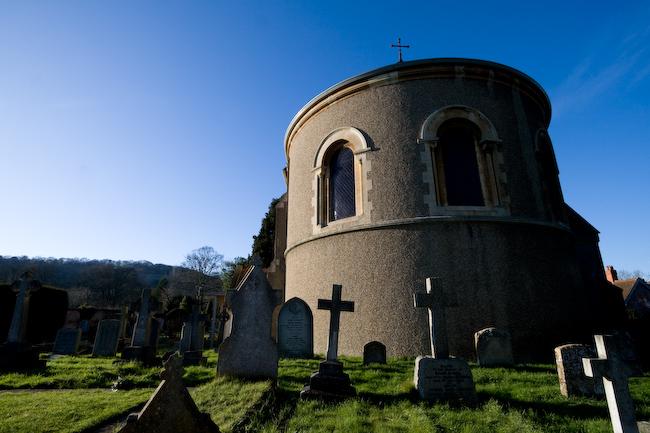
The town on the other bank is called Streatley and yes, this has a church too...

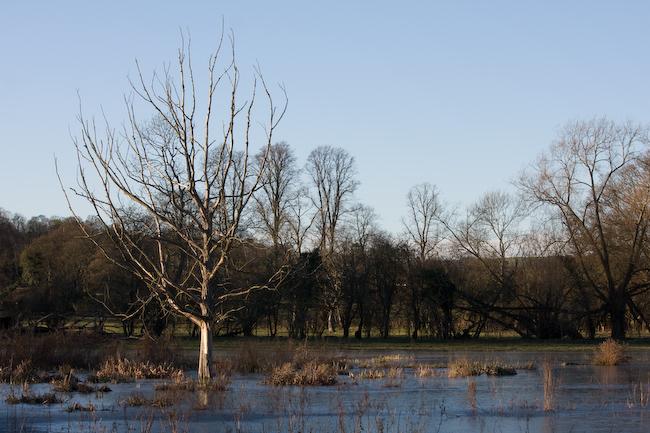
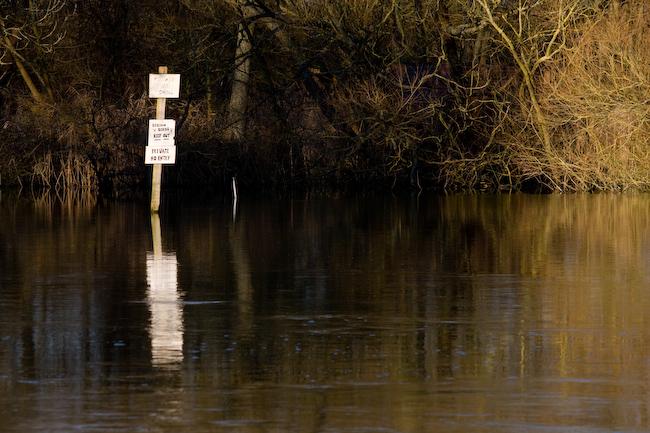
There was a fun moment as we headed toward the river again and found a lake in the way - but a brave traveller passing the other way demonstrated that it wasn't very deep, so we splashed through the floodwater, getting rather wet feet, and back to the towpath.
Moulsford
We left the river at a place called Moulsford which has an expensive private school and not too much else.
After walking some distance along the road and then on a footpath beside the railway, we got to Cholsey station and the end of the walk. We didn't see much of Cholsey itself - maybe next time.