Capital Ring 14 and 15: West Ham to Woolwich

Introduction

On two Saturdays in the autumn of 2016, we did a couple of short walks to finish the Capital Ring long distance path. Since they were short, I’m grouping them here.

Saturday 22nd October

We began from West Ham station and walked a short distance back to the Greenway (which, for those who missed last time, is a path that runs along the route of a very large sewer).

Steps up to the Greenway from the road.
1/500 at f8, 23mm, ISO200 51°31′47″N 0°0′18″E
SNAG graffiti, shining prettily in the sunlight.
1/500 at f8, 23mm, ISO200 51°31′47″N 0°0′43″E

After a short distance, we left the relatively fresh air of the Greenway and had to cross a busy dual carriageway on a footbridge most notable for its view of ‘Beckton Alps’ (not pictured) - a hill in the distance, actually a very large slag heap from the old gasworks.

Footbridge.
1/500 at f8, 23mm, ISO200 51°31′12″N 0°2′49″E
Derelict PEK building on south side of road.
1/500 at f8, 23mm, ISO200 51°31′11″N 0°2′49″E

A short street took us to Beckton District Park.

Landscaping and waterfall.
1/500 at f8, 23mm, ISO200 51°31′10″N 0°2′37″E
Trees with autumn colour.
1/250 at f8, 23mm, ISO200 51°30′39″N 0°2′50″E

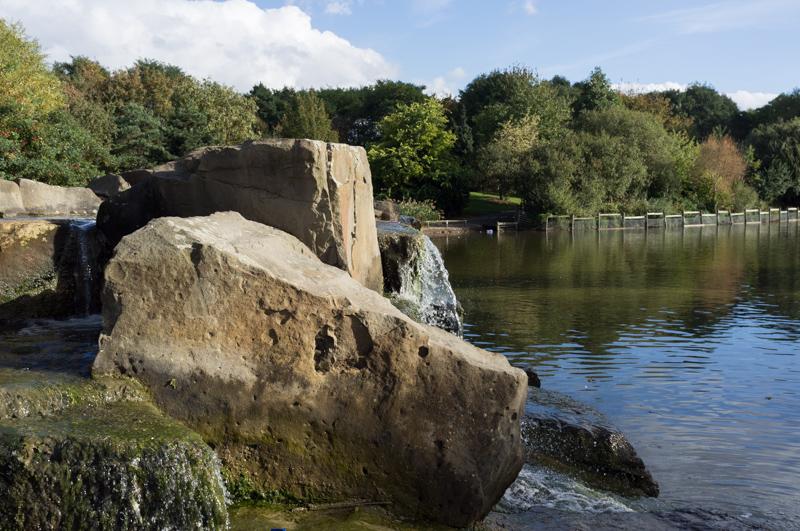
Emerging from the park, we left the route and headed south to Royal Albert DLR station.

Dockside building (seems to be Newham council), beneath DLR tracks.
1/160 at f8, 23mm, ISO200 51°30′31″N 0°2′48″E

Saturday 5th November

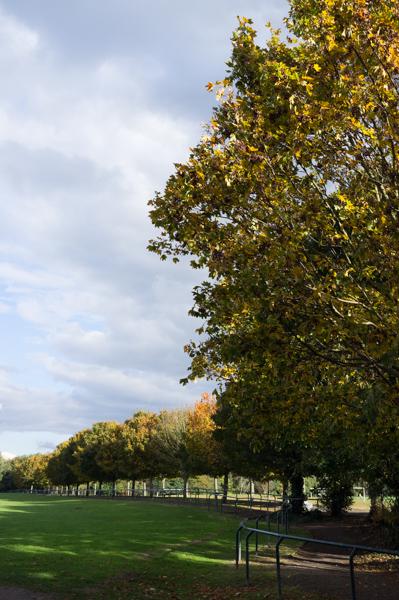
A couple of weeks later (after seeing an exhibition at the British Museum in the morning), we returned to Royal Albert station and rejoined the route in Beckton District Park.

Football pitches on Beckton District Park; sun peeking through clouds.
1/500 at f8, 23mm, ISO200 51°30′38″N 0°3′4″E

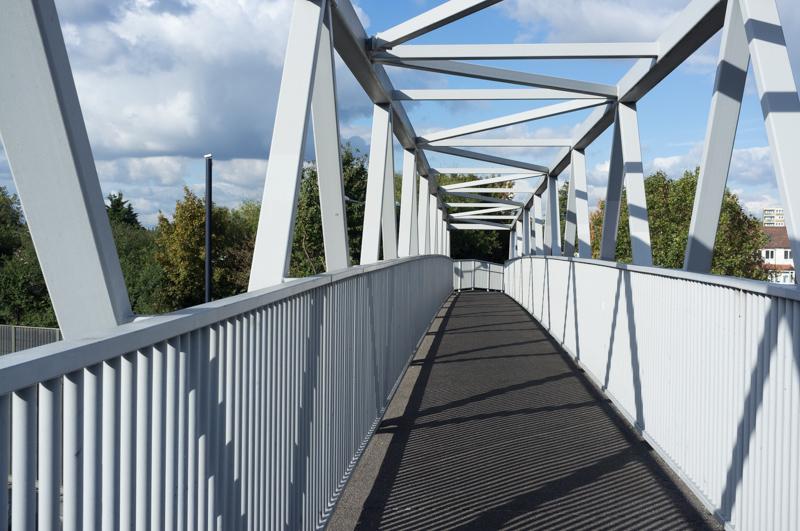
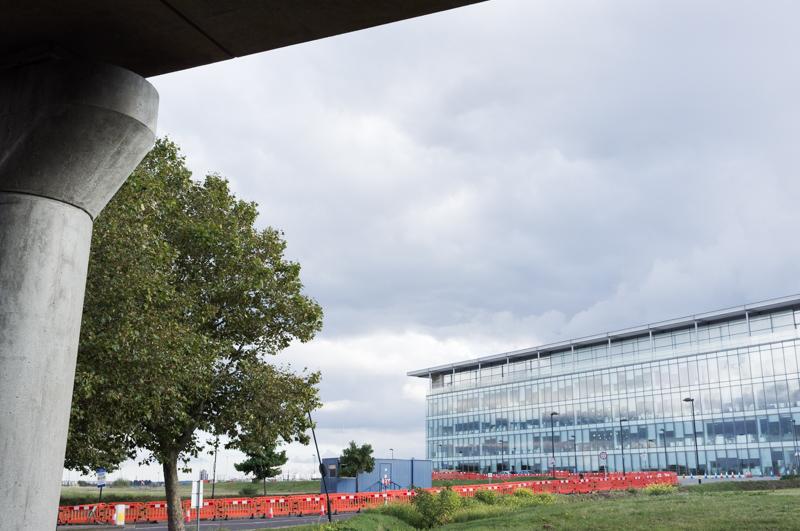
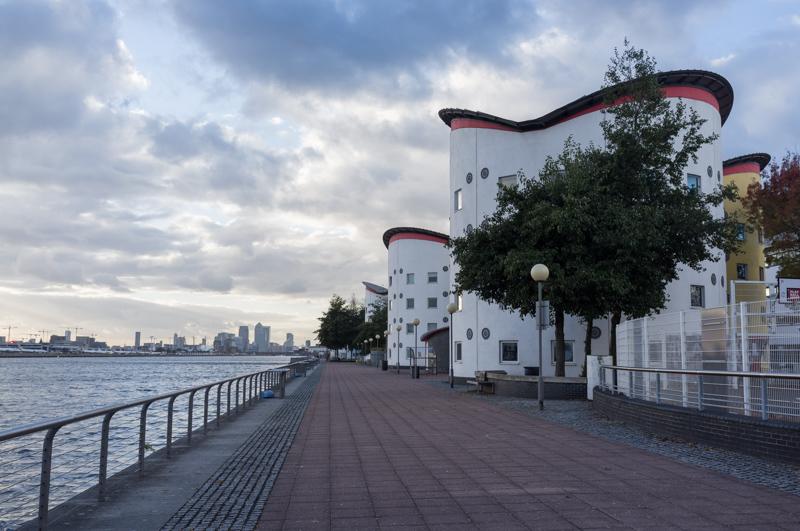
After crossing parkland and some residential streets, we crossed a bridge over Cyprus DLR station (which doesn’t appear to be all that convenient for Cyprus, unless my geography is exceedingly mistaken) and through the University of East London campus to a dockside path.

Metal structure by the dock. Knowledge is to the right, apparently; we went left.
1/250 at f8, 23mm, ISO200 51°30′25″N 0°3′50″E
View across Royal Albert Dock; Tate and Lyle’s Silvertown sugar refinery in the background.
1/2000 at f8, 23mm, ISO200 51°30′24″N 0°3′50″E
University buildings by dock (taken to match a similar picture in the guidebook).
1/125 at f9, 23mm, ISO200 51°30′24″N 0°4′0″E
Skyline view below the Sir Steve Redgrave Bridge. (Yes, really.)
1/500 at f8, 23mm, ISO200 51°30′22″N 0°4′19″E
Gallions Hotel.
1/125 at f8, 23mm, ISO200 51°30′24″N 0°4′22″E

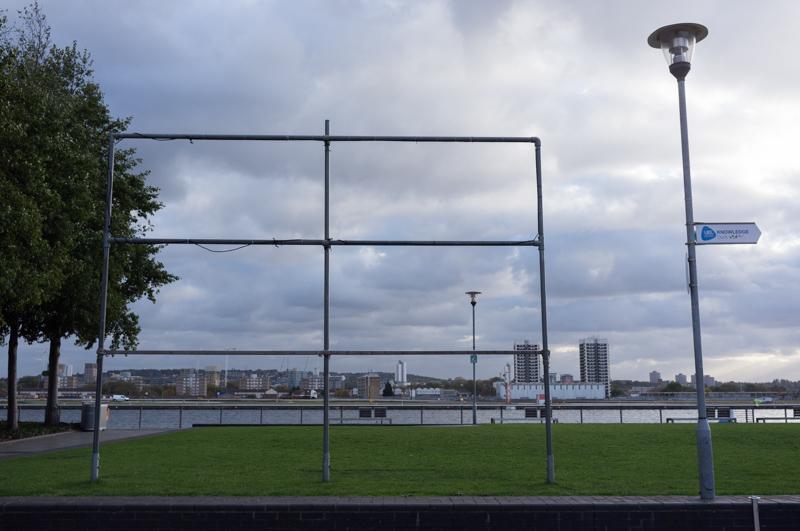
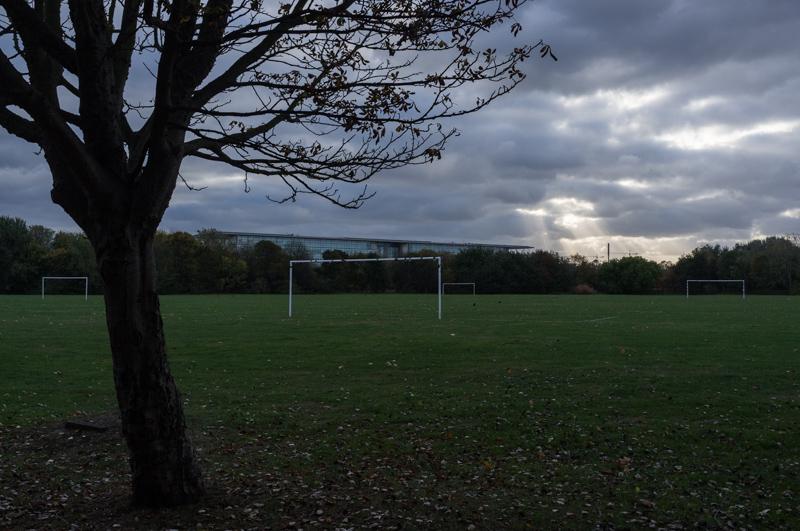
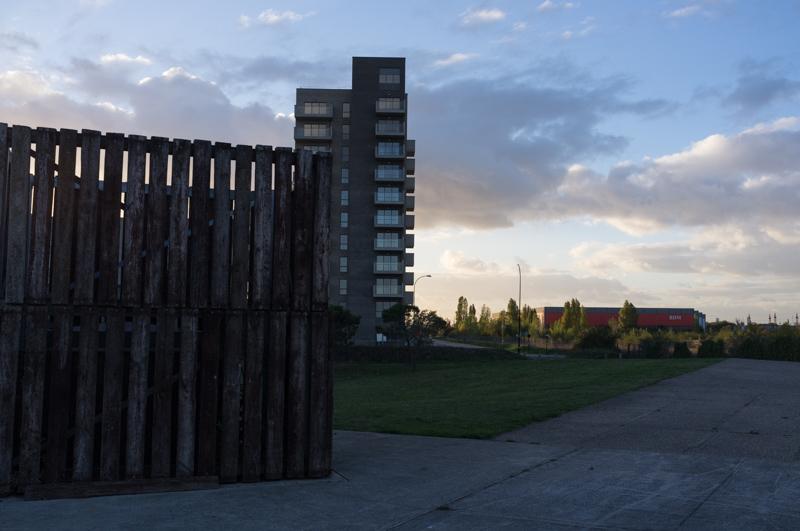
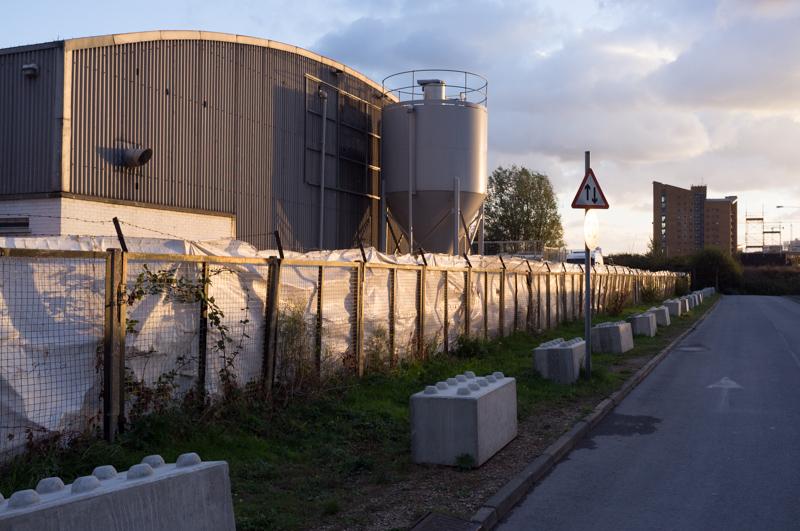
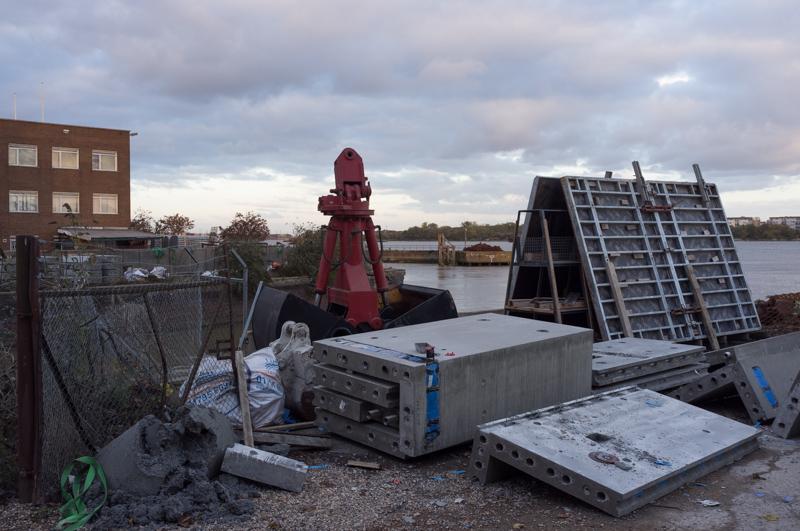
We left the dockside and headed toward the Thames, along a very large dual carriageway that fades away into nowhere. The guidebook said this area ‘is awaiting redevelopment and can seem rather lonely and desolate’. It went on to suggest an alternative route, but obviously I thought this sounded like the best bit. (I’m not sure R agreed!)

Redevelopment!
1/250 at f8, 23mm, ISO200 51°30′29″N 0°4′40″E
Port of London Authority radar mast.
1/500 at f8, 23mm, ISO200 51°30′29″N 0°4′46″E
Looking back at the redevelopment.
1/500 at f8, 23mm, ISO200 51°30′28″N 0°4′46″E

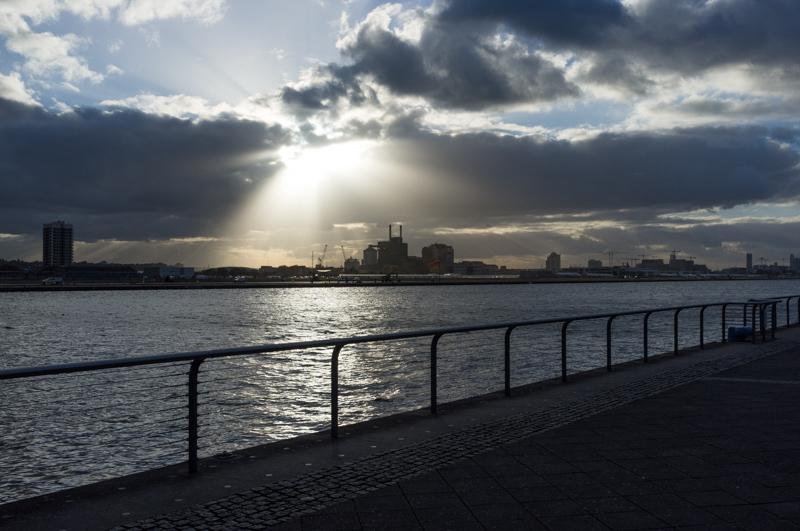
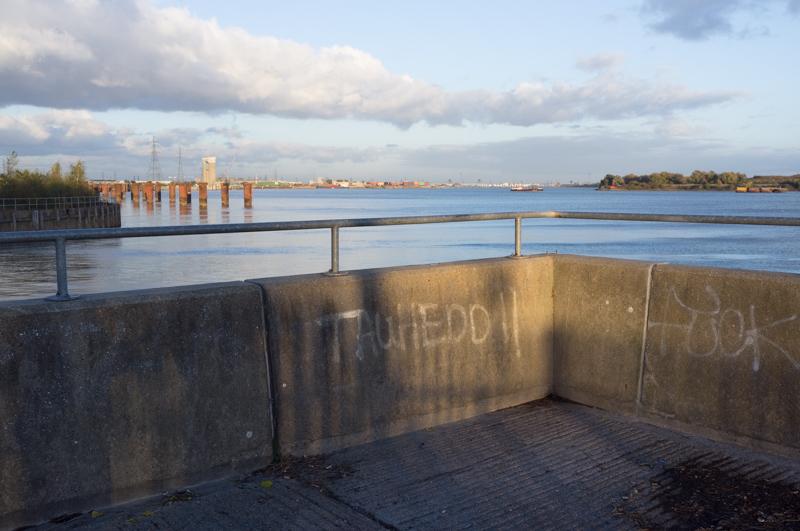
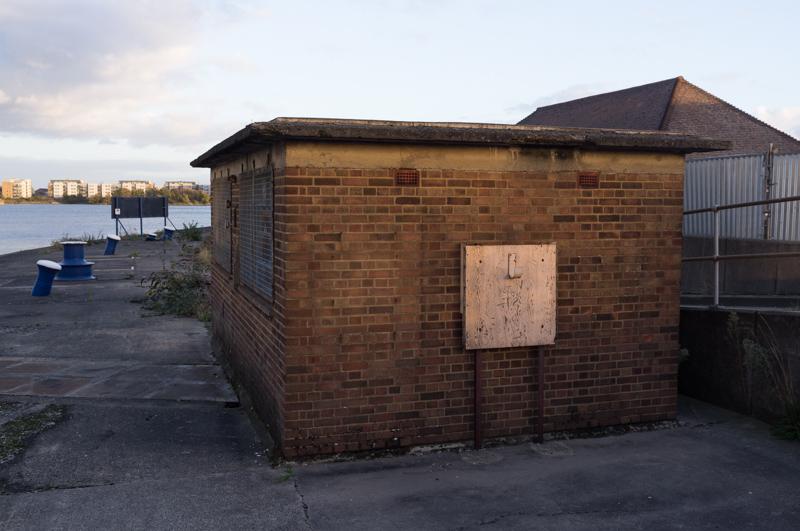
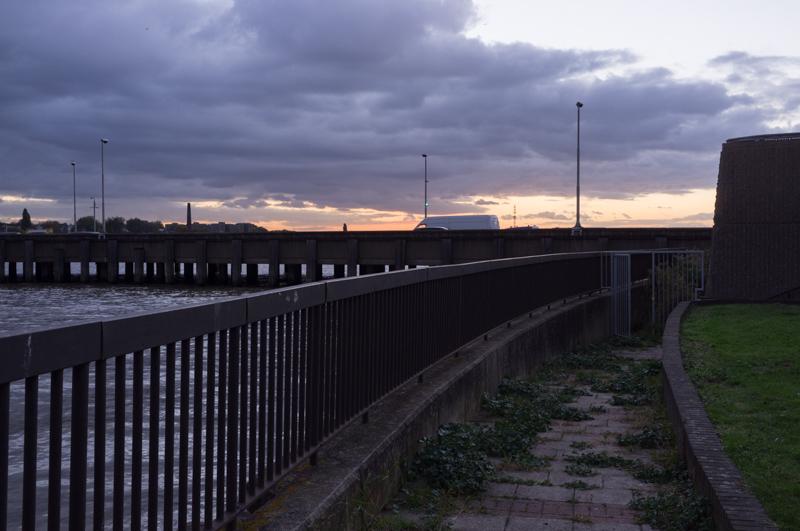
Our route then followed a riverside path.

Corner of path (remains of Beckton Gas Works jetty behind).
1/250 at f8, 23mm, ISO200 51°30′28″N 0°4′47″E
Riverside.
1/250 at f8, 23mm, ISO200 51°30′26″N 0°4′45″E
Another corner.
1/125 at f8, 23mm, ISO200 51°30′22″N 0°4′42″E
PLA impounding culvert (I don't know what one of those is either).
1/125 at f8, 23mm, ISO200 51°30′19″N 0°4′40″E

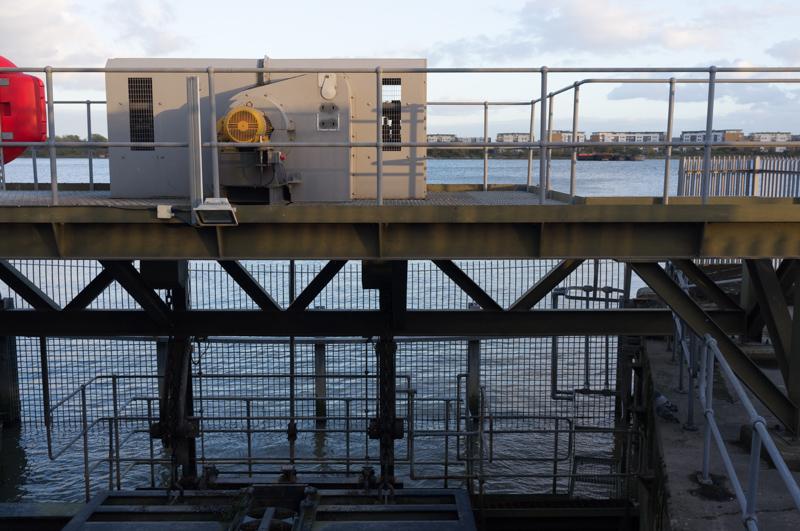
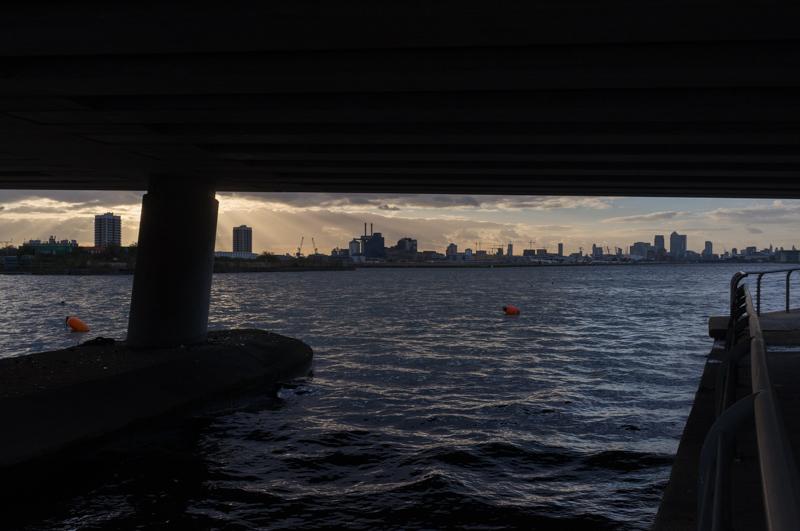
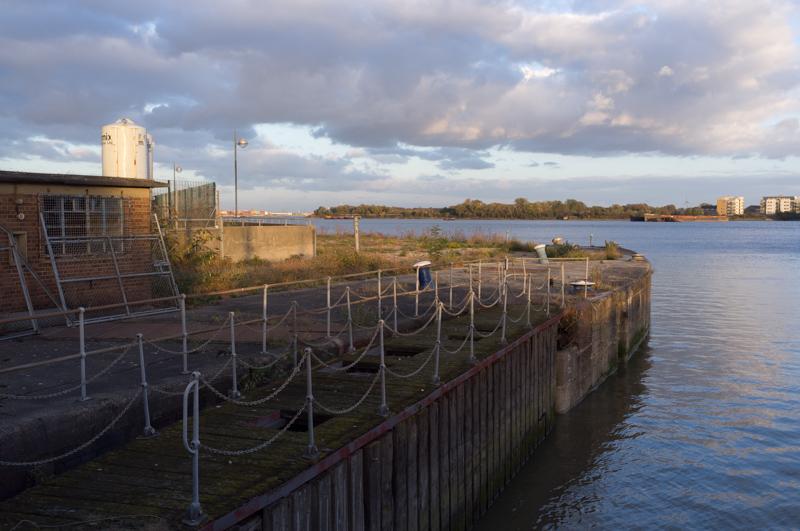
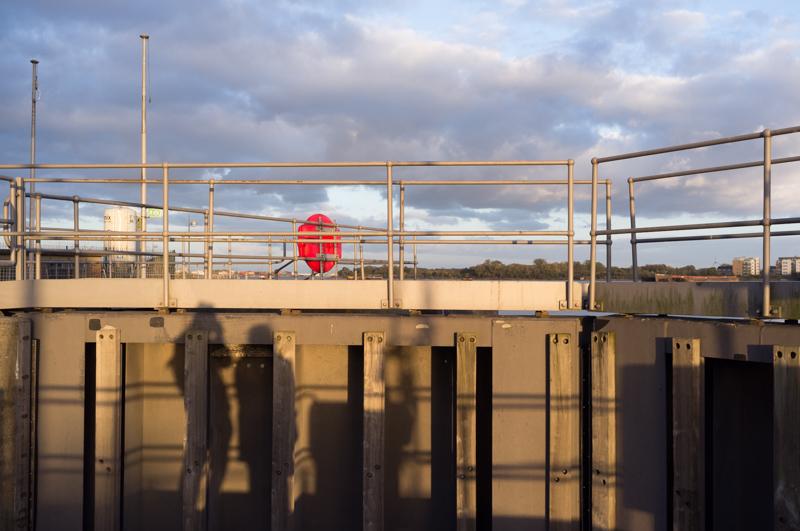
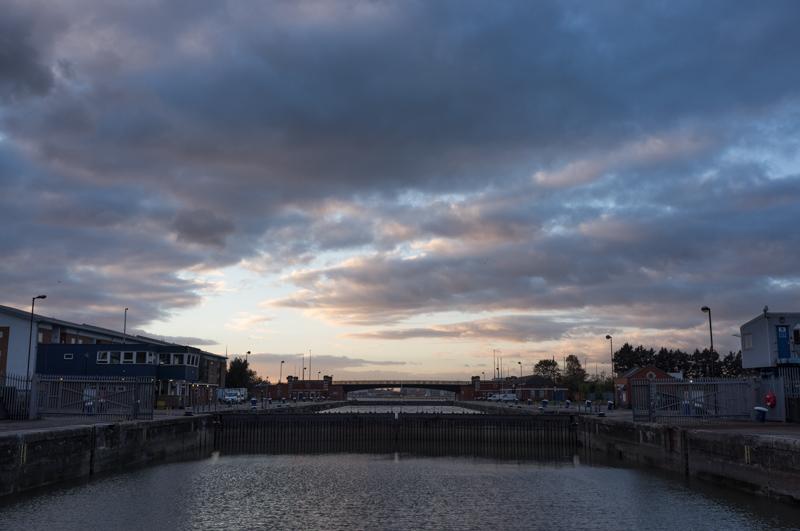
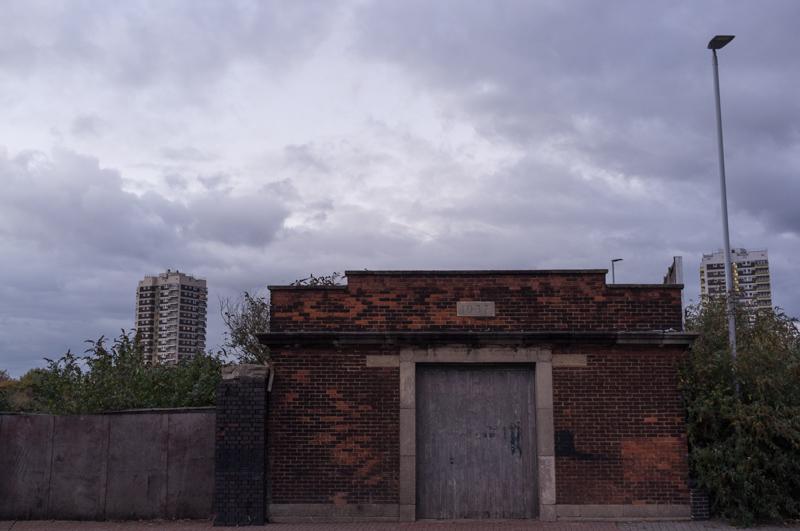
The path crossed both old locks which had once been entrances to the Royal Docks.

Entrance to lock.
1/125 at f8, 23mm, ISO200 51°30′17″N 0°4′35″E
The two of us on lock gates.
1/125 at f8, 23mm, ISO200 51°30′17″N 0°4′35″E
Building by lock entrance.
1/80 at f8, 23mm, ISO200 51°30′17″N 0°4′36″E
Building with concrete tank (1).
1/125 at f8, 23mm, ISO200 51°30′16″N 0°4′32″E
Building with concrete tank (2).
1/60 at f8, 23mm, ISO200 51°30′15″N 0°4′32″E
Junk collection.
1/60 at f8, 23mm, ISO200 51°30′12″N 0°4′33″E
View toward King George V Dock.
1/60 at f8, 23mm, ISO200 51°30′7″N 0°4′26″E
Dock entrance.
1/30 at f8, 23mm, ISO200 51°30′6″N 0°4′25″E

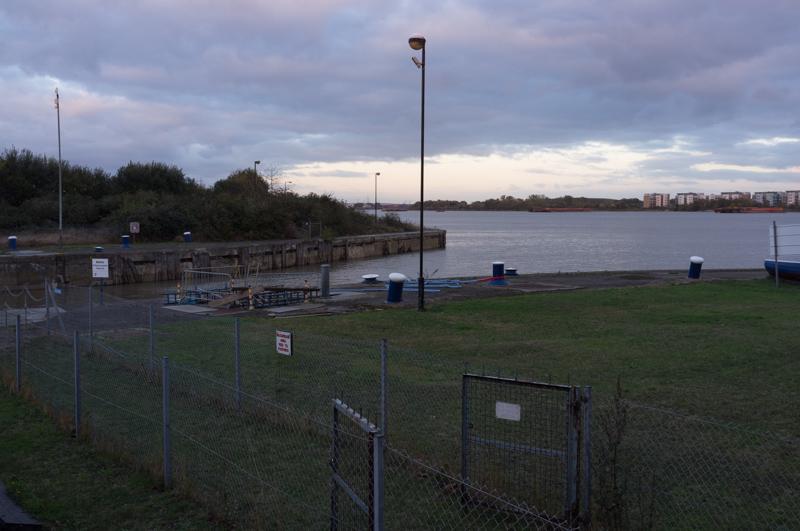
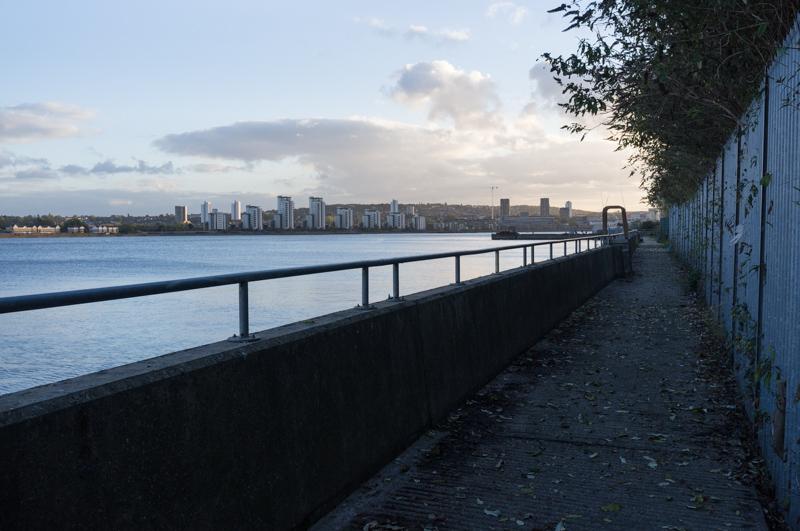
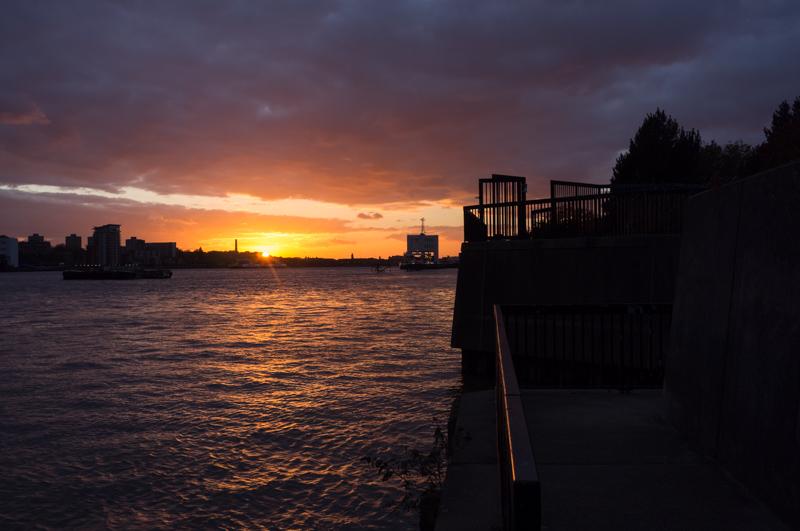
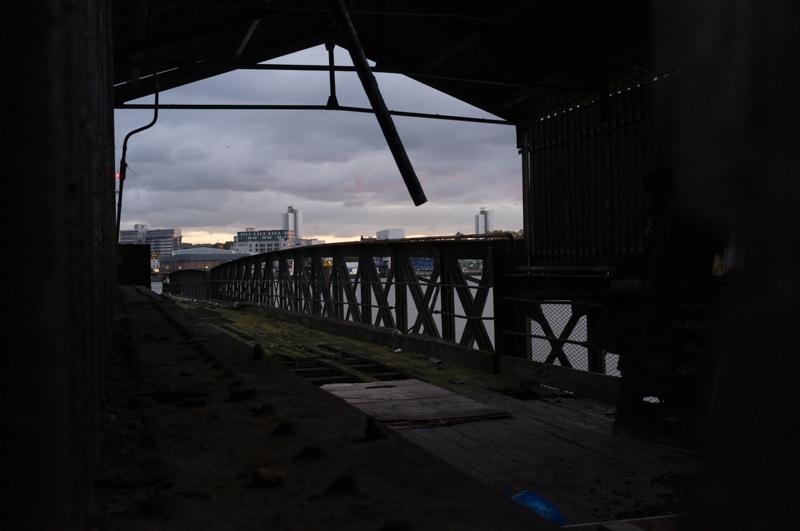
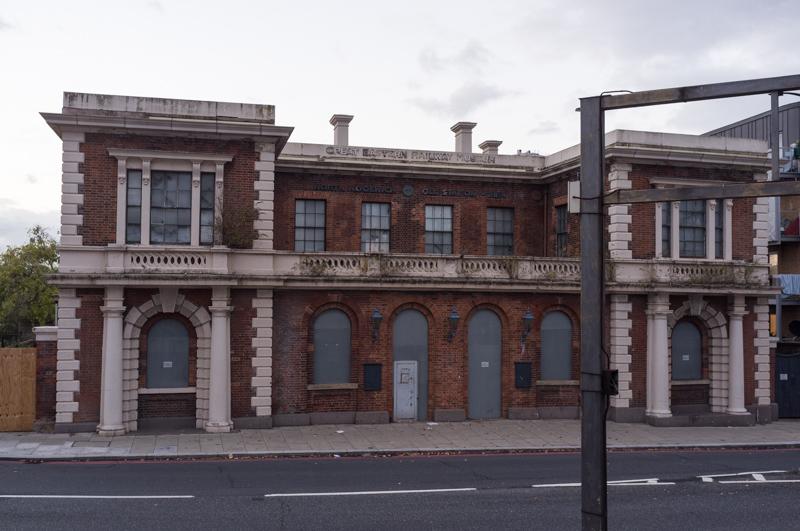
We followed the riverside all the way to North Woolwich.

Blocks of flats on the south bank.
1/60 at f8, 23mm, ISO400 51°29′57″N 0°4′10″E
Sunset from the direction of the ferry pier.
1/125 at f8, 23mm, ISO200 51°29′56″N 0°4′8″E
Gate, Capital Ring sign, and tug behind.
1/30 at f8, 23mm, ISO200 51°29′56″N 0°4′6″E
North Woolwich Pier (disused).
1/30 at f8, 23mm, ISO400 51°29′55″N 0°3′48″E
North Woolwich Station (also disused).
1/30 at f5.6, 23mm, ISO400 51°29′55″N 0°3′48″E
Vehicles waiting on Woolwich Free Ferry pier (not disused).
1/30 at f8, 23mm, ISO400 51°29′54″N 0°3′38″E
Building, 1937.
1/30 at f5.6, 23mm, ISO400 51°29′54″N 0°3′36″E

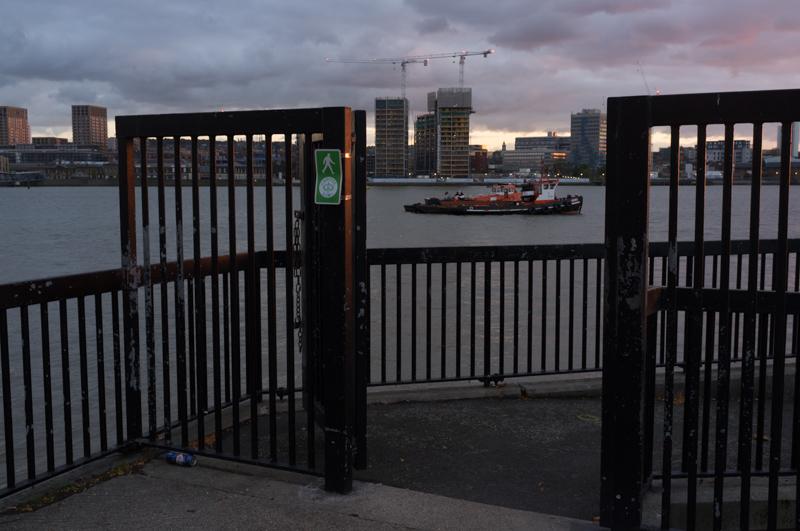
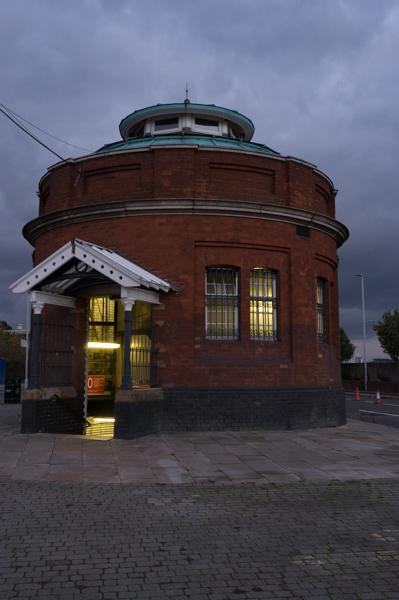
To complete the Capital Ring on foot, we crossed the Woolwich Foot Tunnel.

Tunnel entrance.
1/30 at f8, 23mm, ISO400 51°29′55″N 0°3′41″E
In the door.
1/15 at f4, 23mm, ISO400 51°29′55″N 0°3′40″E
On the stairs down.
1/30 at f5.6, 23mm, ISO1600 51°29′54″N 0°3′41″E
Near the bottom.
1/60 at f5.6, 23mm, ISO1600 51°29′52″N 0°3′42″E

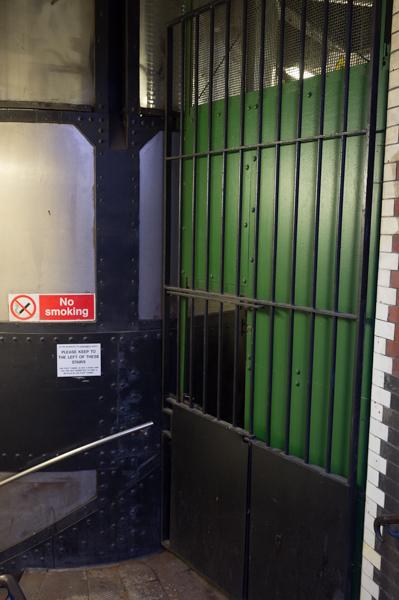
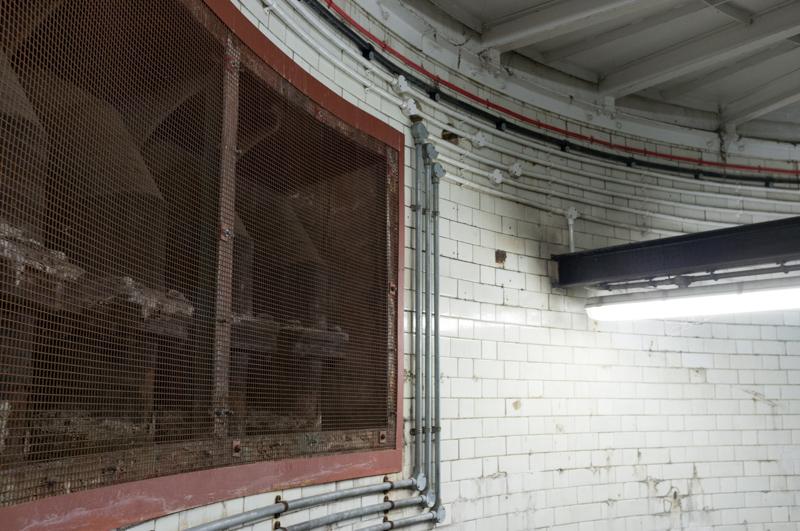
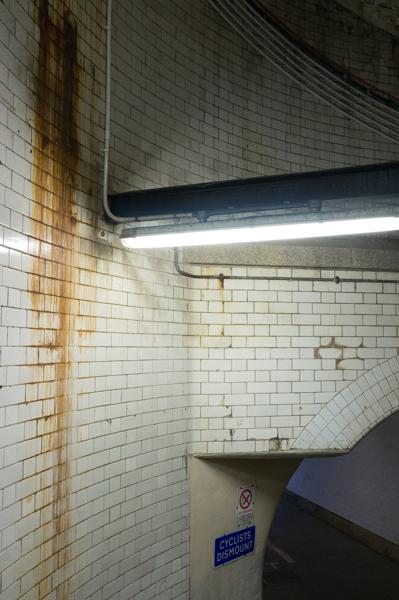
The tunnel itself looks rather like other foot tunnels. It has lots of signs about not cycling, and indeed, several people passed us on bikes.

South side tunnel entrance.
1/15 at f2.8, 23mm, ISO400 51°29′39″N 0°3′45″E
Woolwich Free Ferry, just setting off.
1/30 at f4, 23mm, ISO800 51°29′40″N 0°3′47″E

After that we walked back to Woolwich Arsenal DLR and headed home.

It was good to finally finish the walk (and I liked the tunnel at the end). Having walked all 78 miles, I think it was a pretty interesting route. There aren’t as many rural sections as the London Loop (which is a longer route, further out from the centre), but there are still lots of interesting, different parks and generally nice bits. And it’s very easy to walk because the sections are very short and have loads of public transport links at different points. So if anyone’s thinking of walking it, go for it!

All images © Samuel Marshall. All rights reserved.