Introduction
R and I took a bus to Buckingham and then walked back along the Ouse Valley Walk, which is a canal walk with a difference: no canal. Specifically, it mostly follows the route of the old Buckingham Arm of the Grand Union Canal, which - with a few exceptions - is dry or filled-in.
Buckingham to Hyde Lane Lock
We were navigating with a PDF on my phone of an official walk leaflet from the county council. (Our printer was out of ink, or we would have printed it out, which would have made it a lot easier to read.) The first challenge was to figure out which way to go from the centre of Buckingham, because the leaflet was almost incomprehensible on that point. Eventually we worked it out.
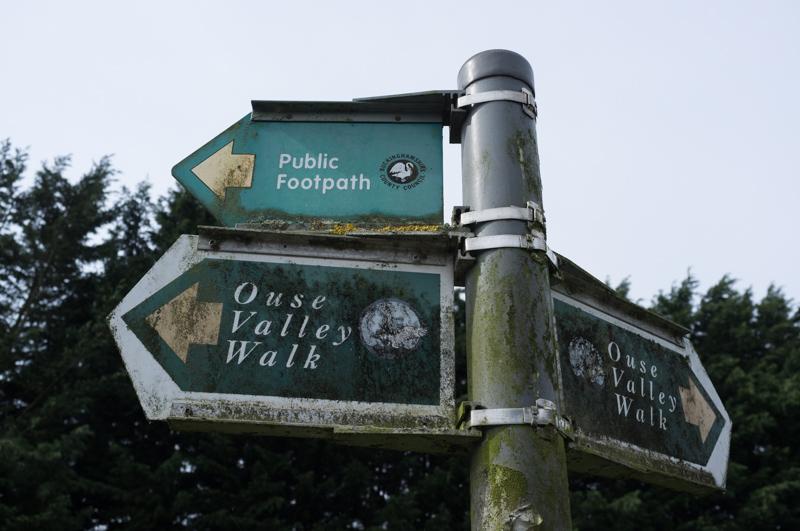
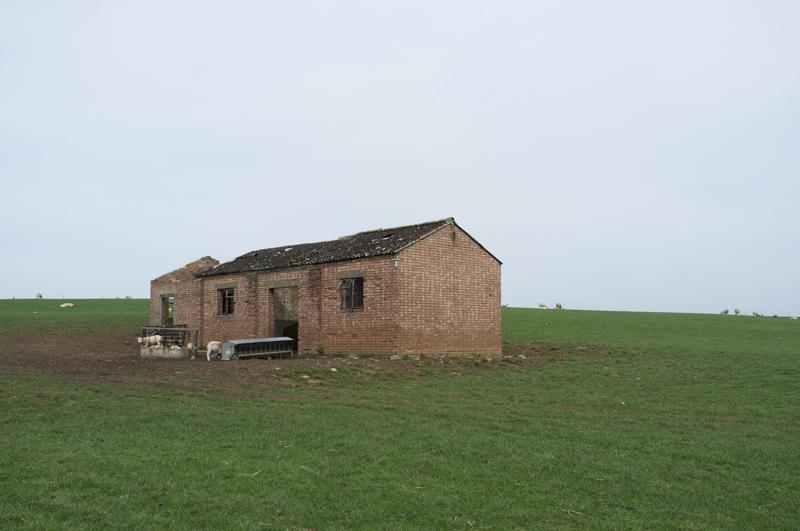
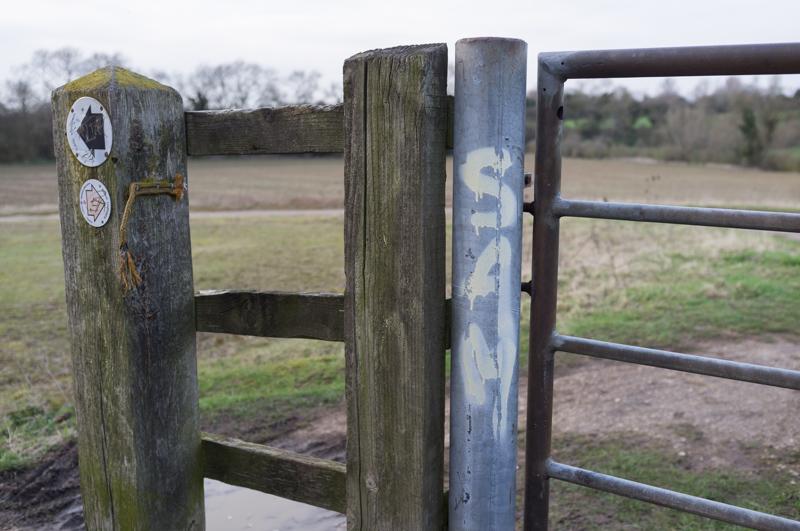
In general, this is a signposted walk, but it doesn’t seem to have received a great deal of attention in recent years. Leisure paths do not come top of the list in times of austerity when there are more vital public priorities, like deporting British citizens for being black... Anyway, the path ran along the River Great Ouse for a short distance, then left it along a minor road and crossed into some farmland, where we found the start of the canal.
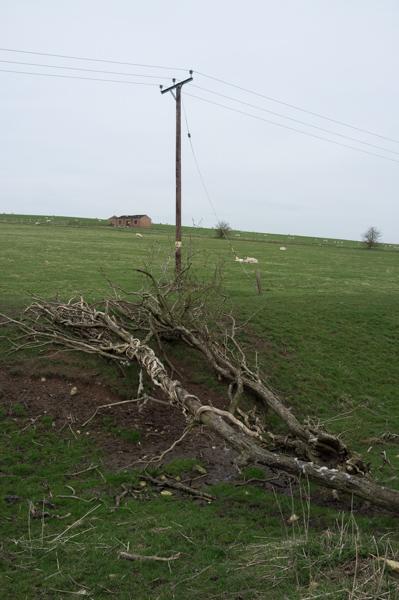
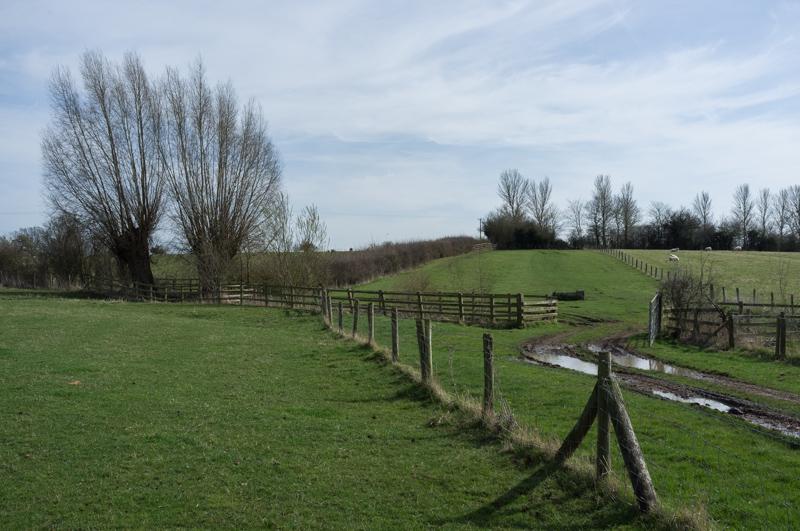
It wasn’t very long before we also found the end of the canal. The next part had been filled in and although our path followed its route, mostly there was no very obvious difference from the surrounding farmland.

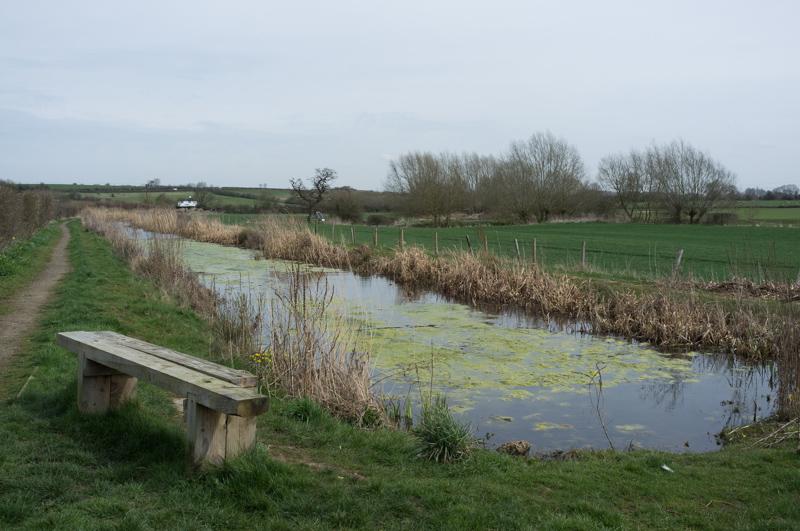
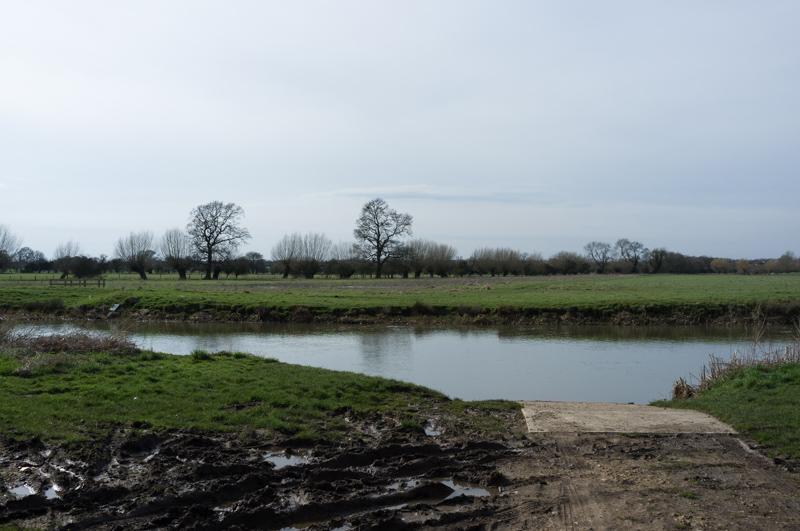
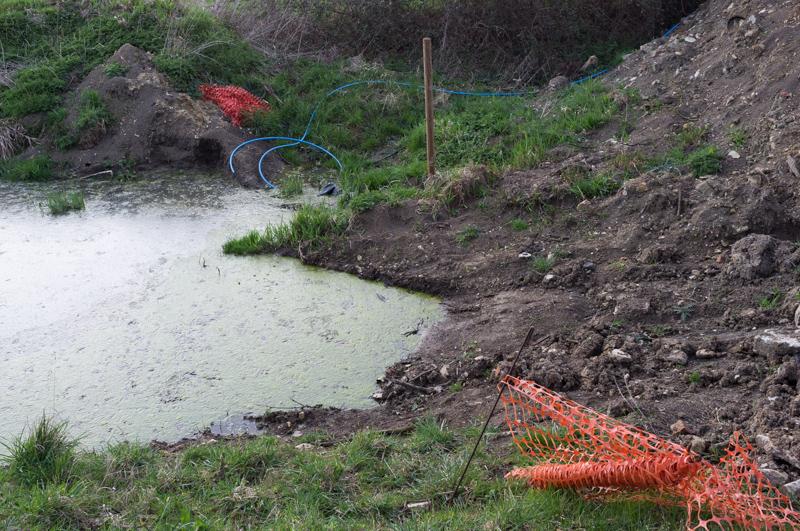
We walked for a time alongside a small lake (a 1960s gravel pit).
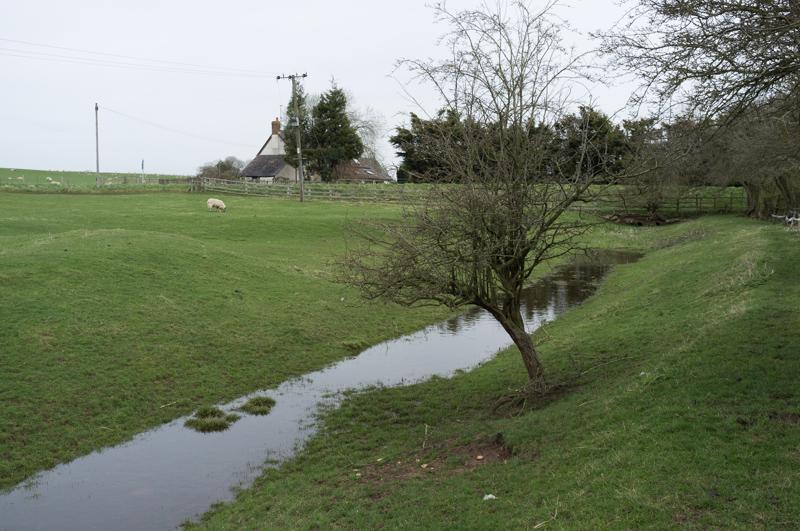
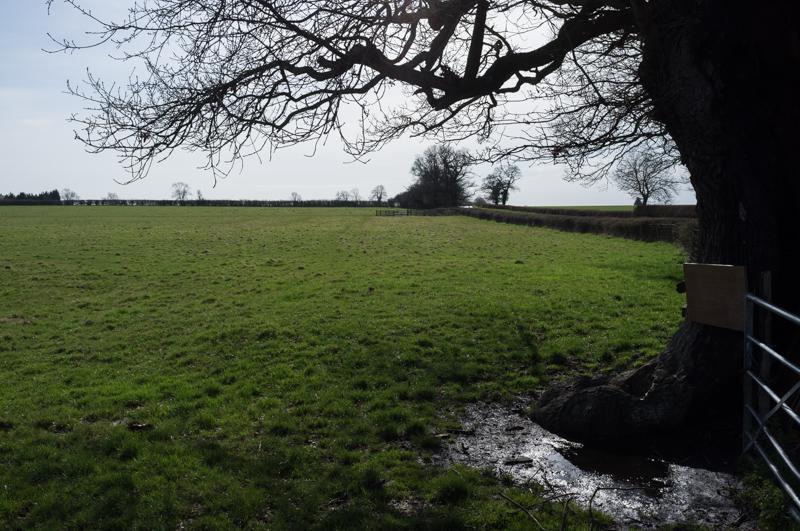
At this point the canal was visible as a damp dip alongside the towpath.
Hyde Lane Lock
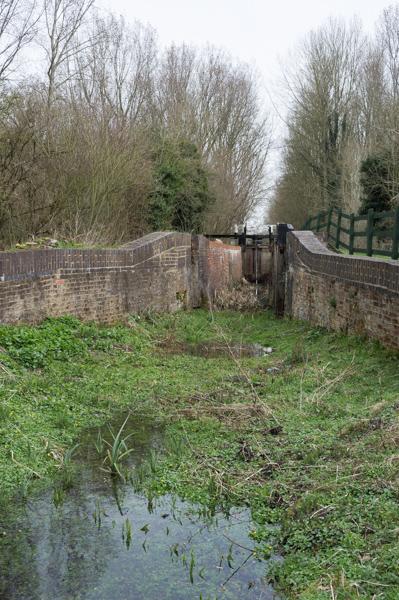
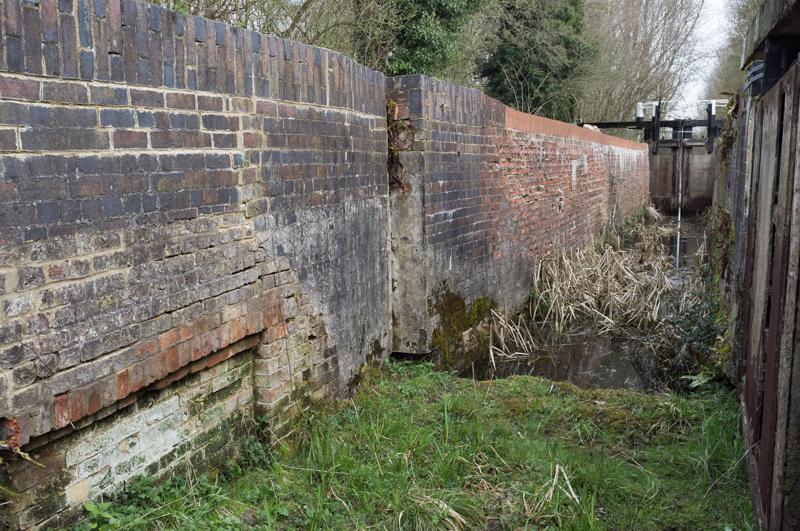
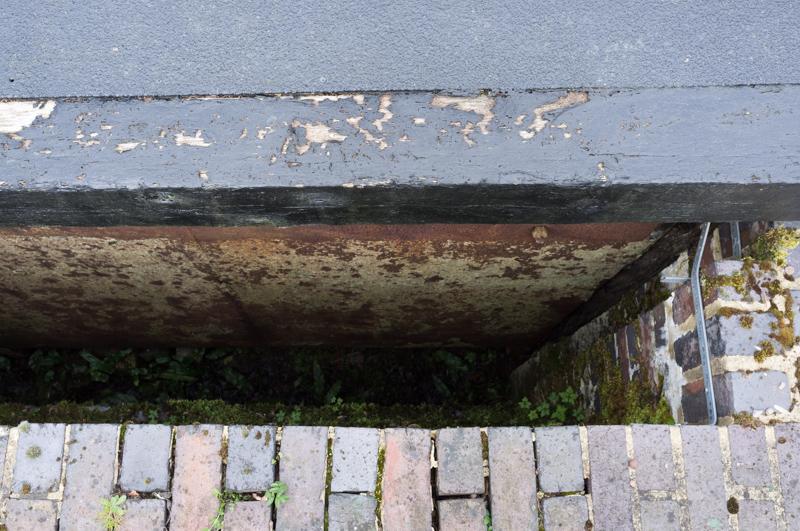
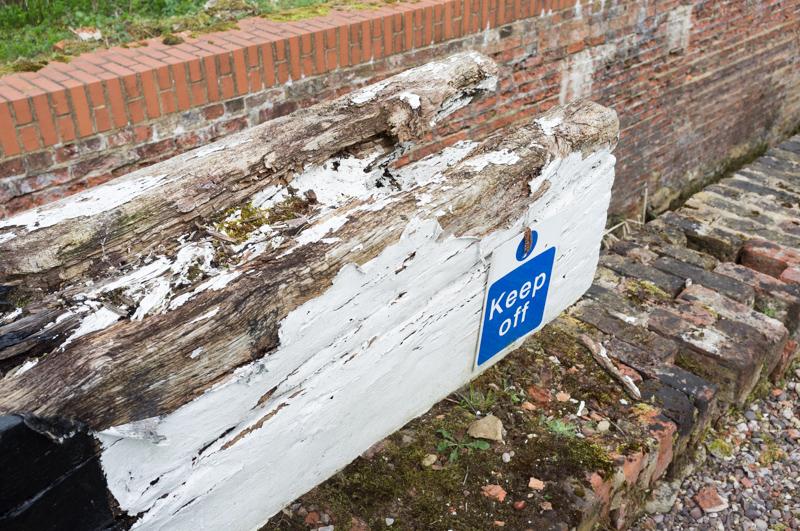
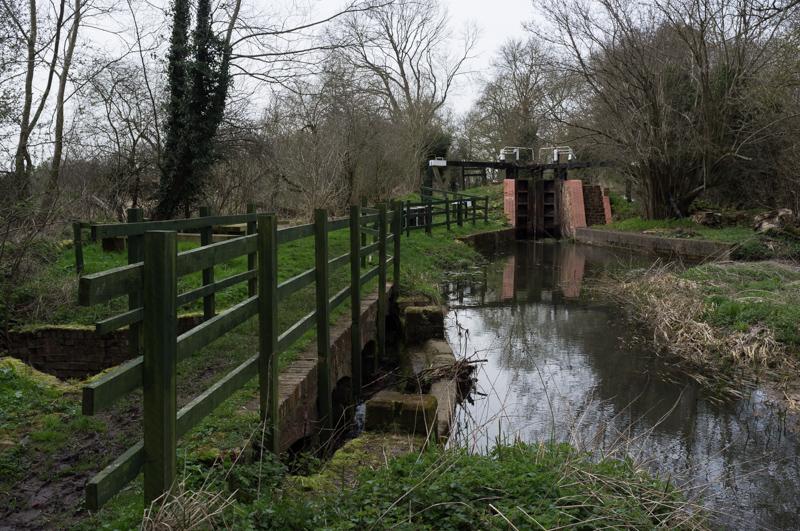
We then came to the most exciting point, old-canal-wise: an old lock, largely restored.
Hyde Lane Lock to Beachampton
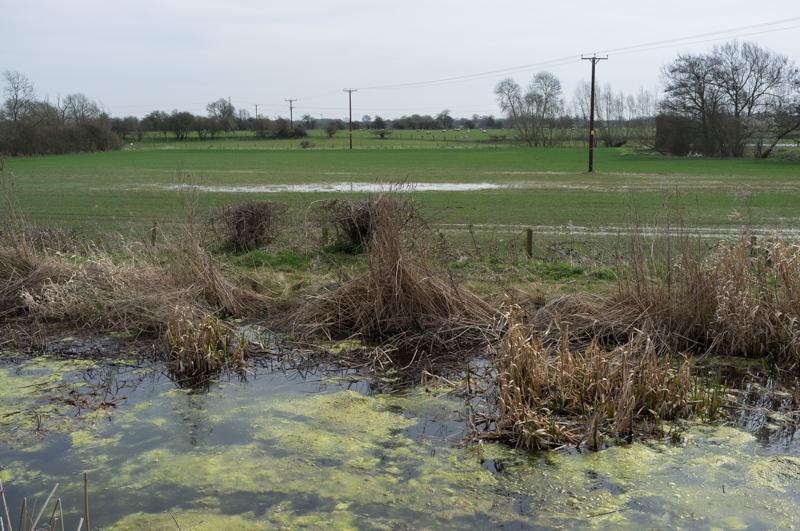
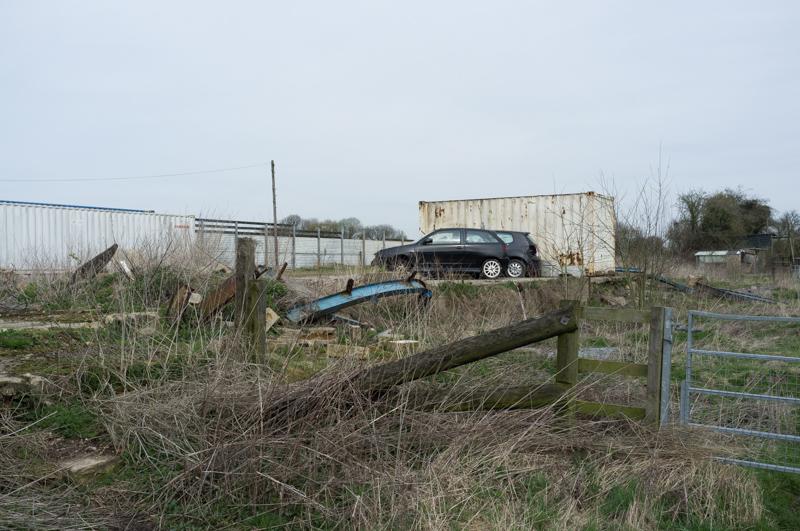
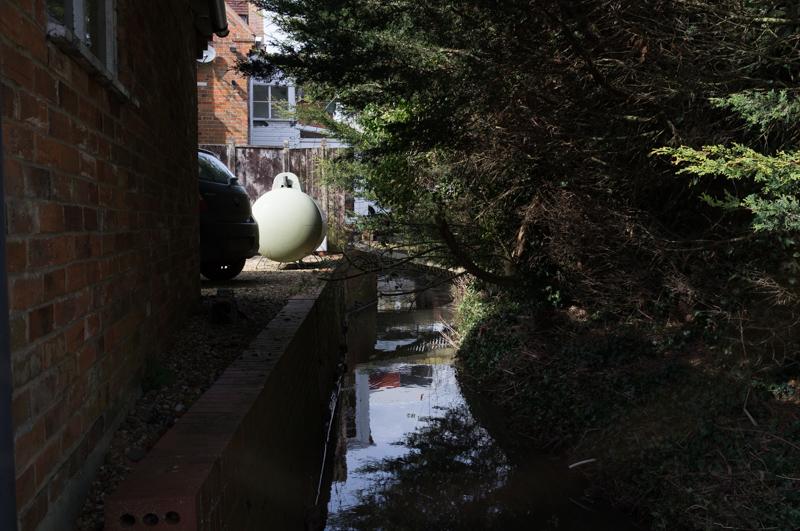
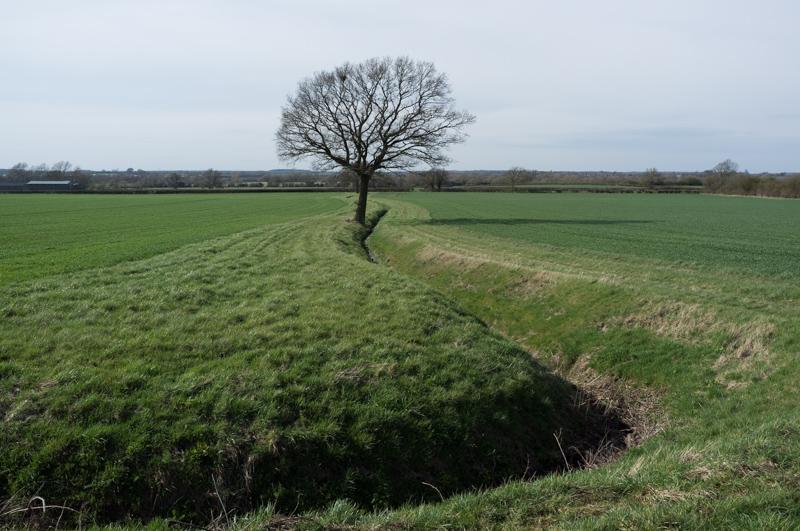
Before long the water in the canal receded to the occasional puddle.
We crossed a lane and should have continued through fields by a house, but at this point a pair of vicious-looking dogs ran out and chased after us. They probably wouldn’t have done any real harm, but R likes dogs even less than I do (and trust me, I hate them with a passion), so we beat a hasty retreat and took an alternative route, heading to the main road and walking along the verge for a short while until we could regain the path.
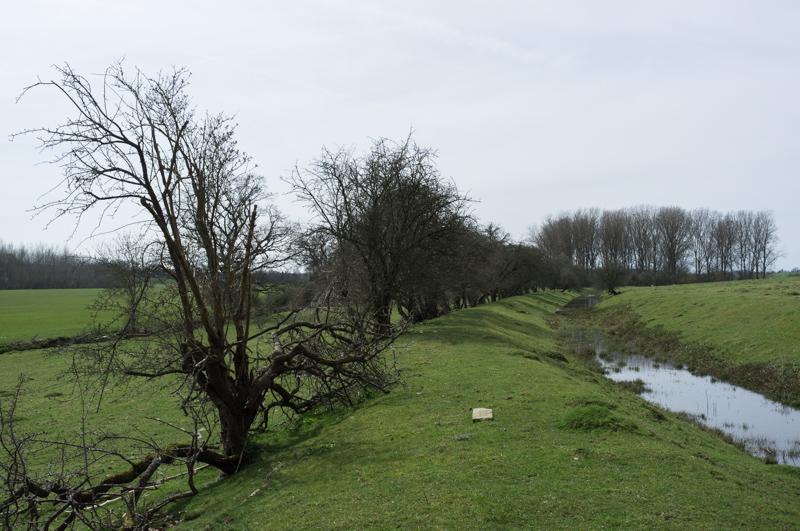
Before long the route (running across fields) rejoined the old canal towpath.
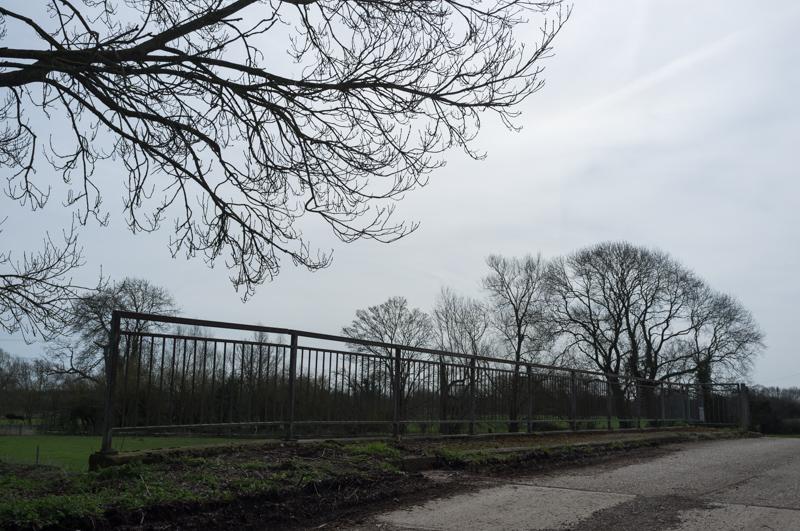
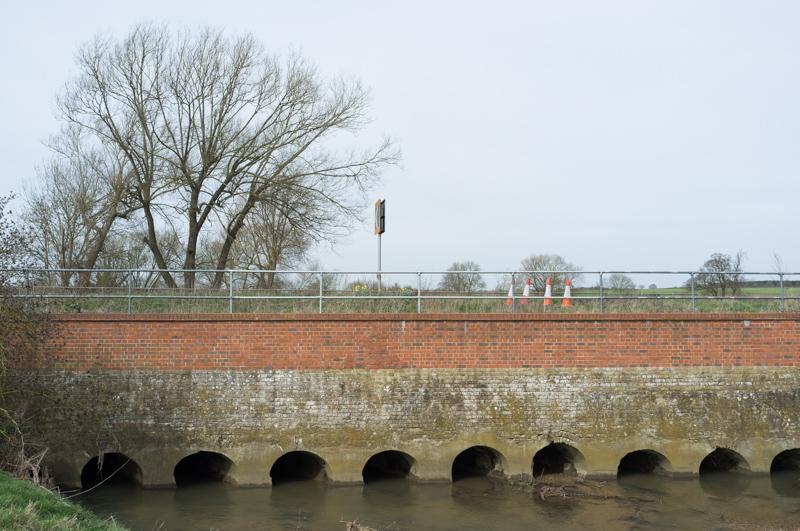
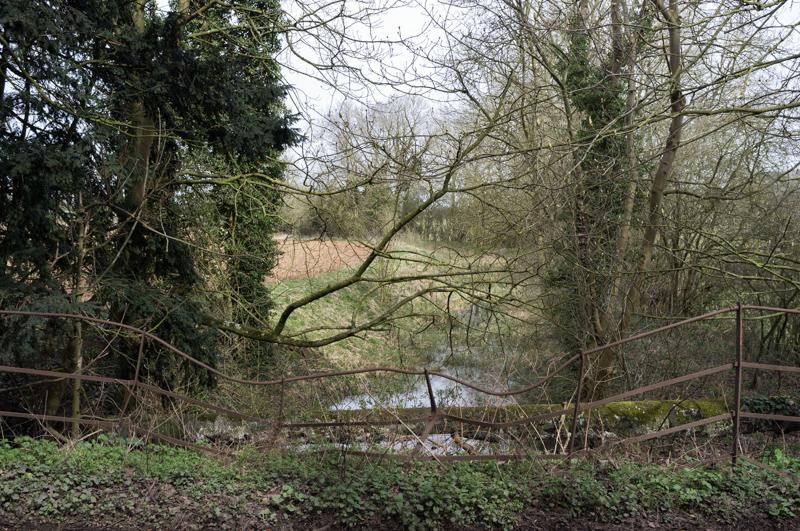
A half-ruined bridge once carried a road over the canal; the road has moved slightly and there’s a newer bridge now.
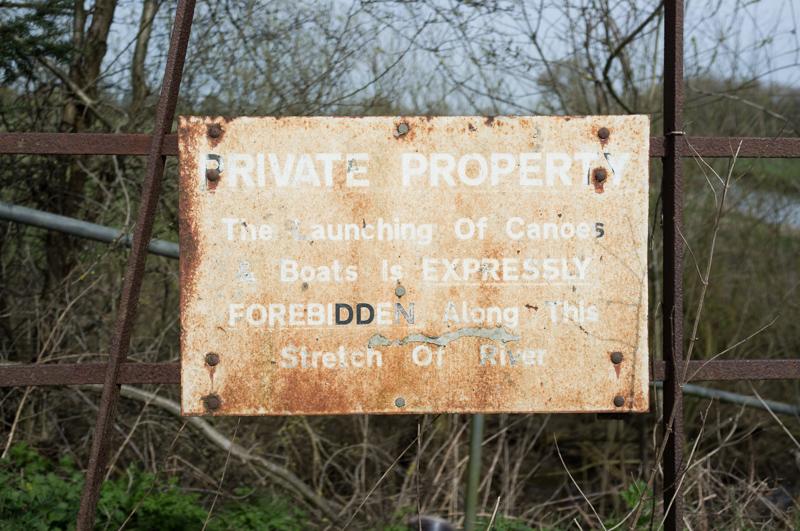
There isn’t a public footpath along the next stretch of the canal, so our route took us along the road a short way to the village of Thornton (which has a Catholic private school and not much else).
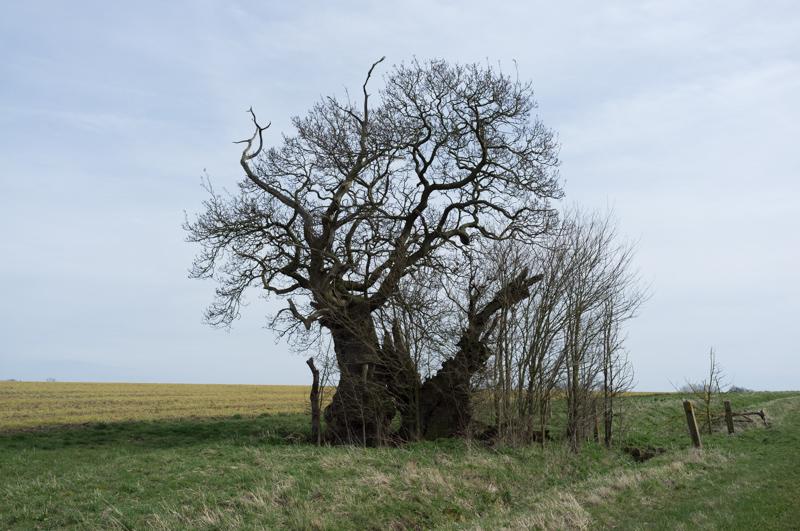
We crossed the river on a road bridge and set off across farmland to the next village, Beachampton.
Beachampton
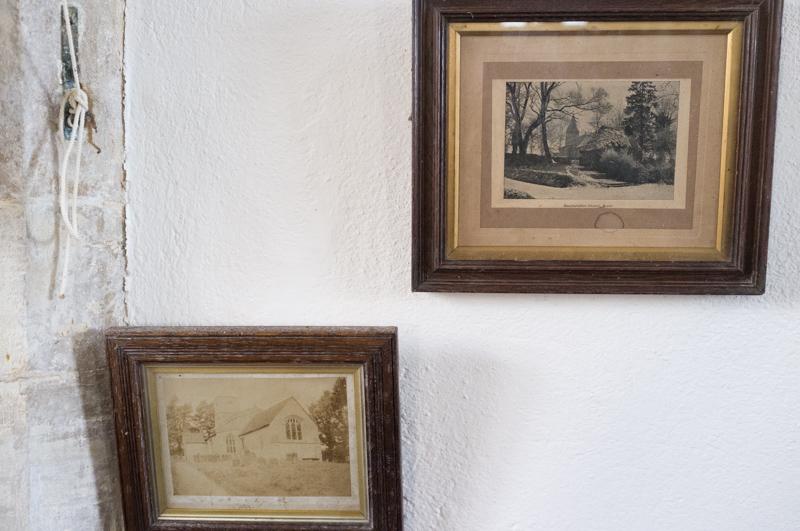
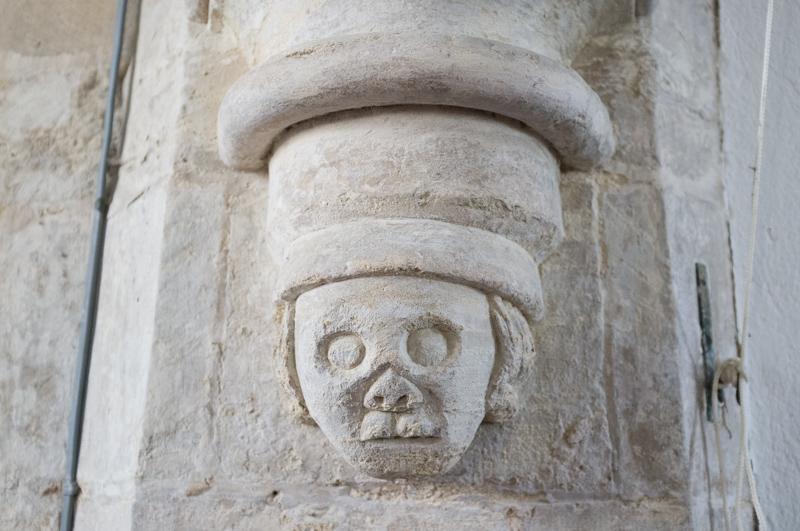
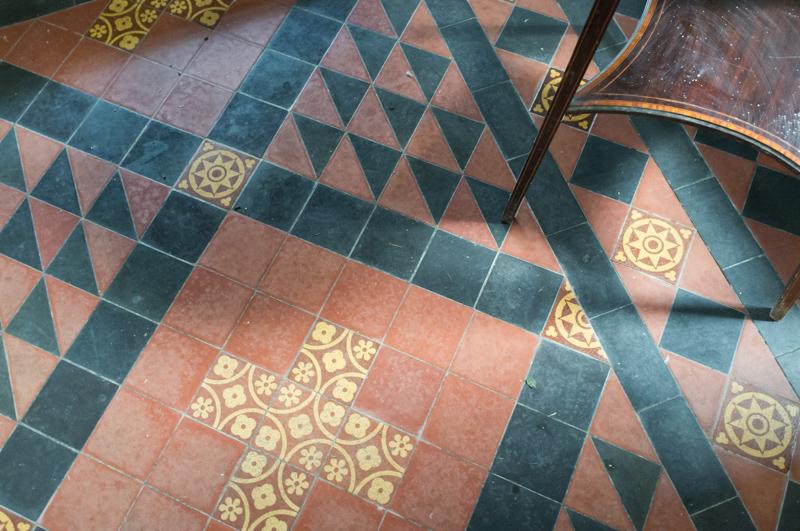
The village church, apparently a Church of the Assumption of the Blessed Virgin Mary (wonder if they get offended if people just call it St Mary’s?), appeared substantially less wealthy than the one on our last walk. It was still very pleasant inside, with some interesting features.
After we left the church, we briefly followed lanes through Beachampton.
Beachampton to Stony Stratford
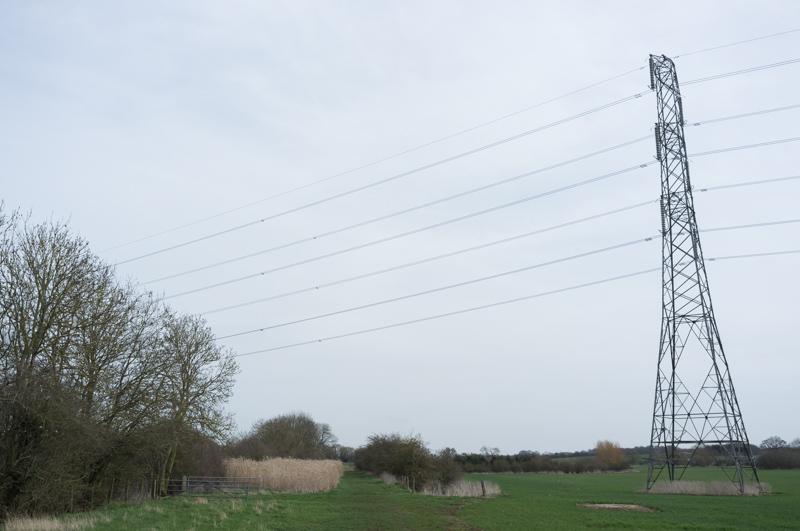
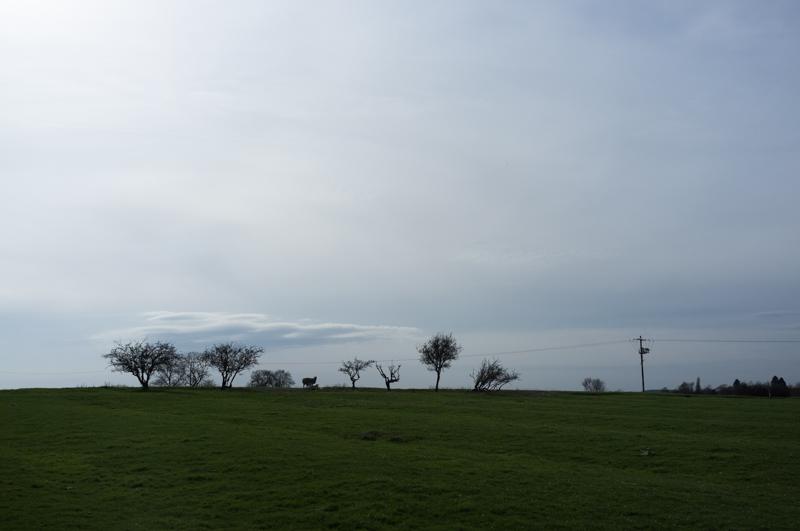
We continued on public footpaths through farmland.


Stony Stratford
Near Stony Stratford we rejoined the river and walked along it a bit before diverting from the path and heading into town for a brief stop at the Costa: R’s tea levels were dangerously low.
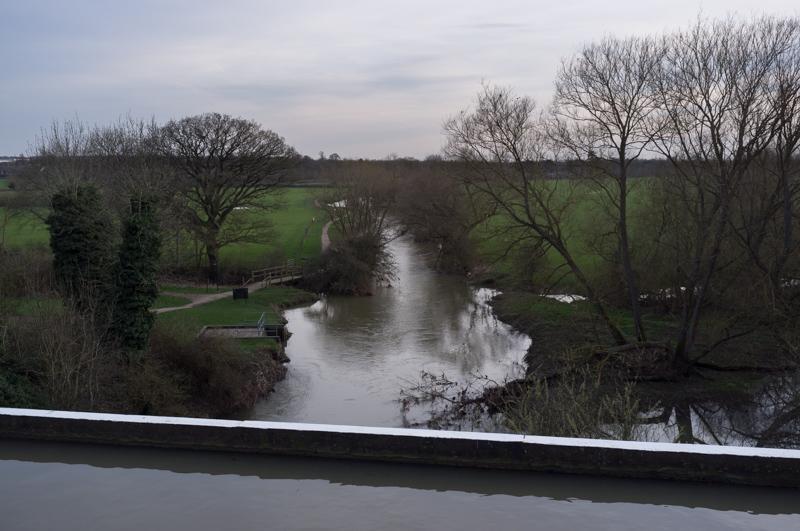
We returned to the riverside path and the official route, and followed it round to the main London Road bridge, which we crossed.
Stony Stratford to Wolverton
We took a not-very-well-used path across an A5 overbridge and then across more muddy fields.
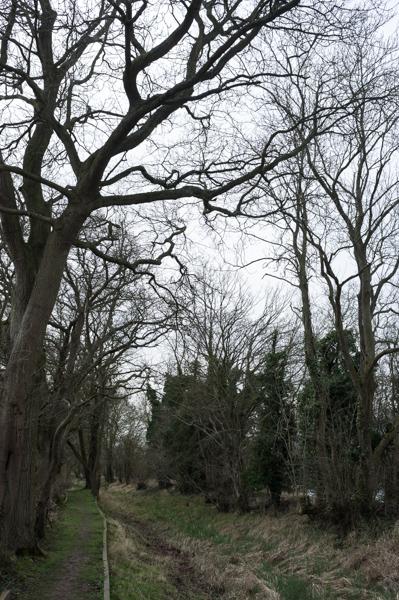
Then we climbed a few paces to a tree-lined embankment, which marked the route of the old canal. What’s more, after a short distance it actually had some water in. Then, after a short distance more, it didn’t.
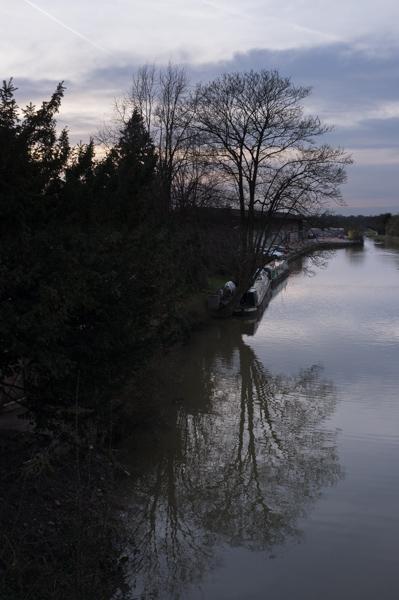
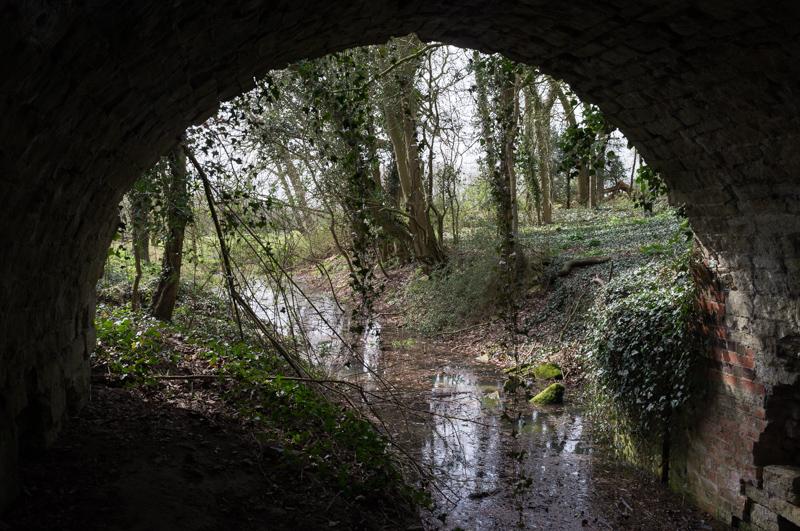
After passing the remains of an old bridge, the canal then had water in for real - and boats. This is a short stretch of the Buckingham Arm that connects to the ‘working’ canal near Cosgrove. We crossed a lock gate and followed the Grand Union towpath down to Wolverton.
The official route continues to Wolverton station, but it was getting dark and we were tired, so we left the canal early by a road bridge and took a 6 into town from the nearby bus stop.